|
Related Link: Borla Mid-Pipe Install
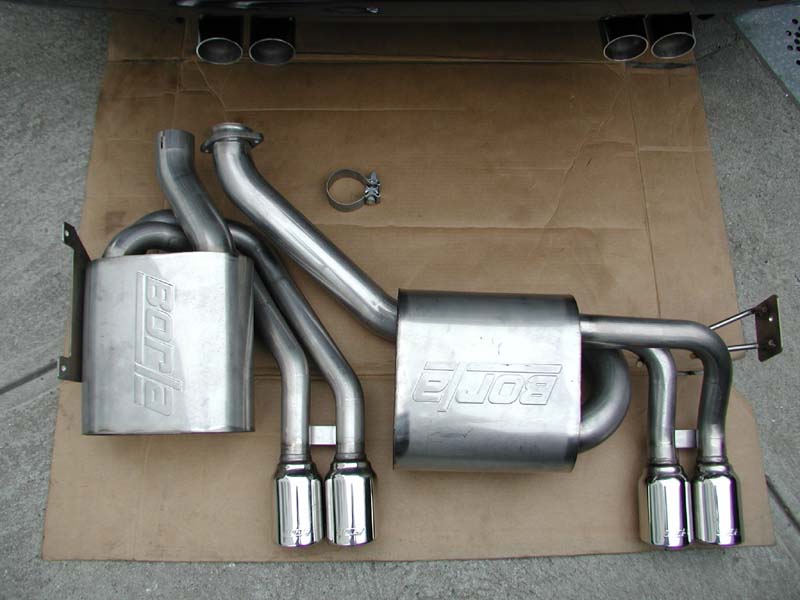
Borla Exhaust
Tools Required
- 12mm Deep Socket
- 13mm Socket
- 13mm Box Wrench
- 15mm Deep Socket
- Universal ratchet joint
- Car Jack (s)
- Safety Stands
- 5/16" x 2" Bolts (x2)
- 5/16" Nut (x2)
- 5/16" Lock Washers (x2)
Parts
| Manufacturer |
Part # |
Description |
Price |
| Borla |
140034 |
Borla Rear Exhaust System |
$849.99 |
| -- |
-- |
5/16" x 2" Bolts, Nuts, & Lock Washers |
$2.00 |
| |
|
|
|
| Total |
Not including shipping. |
|
 
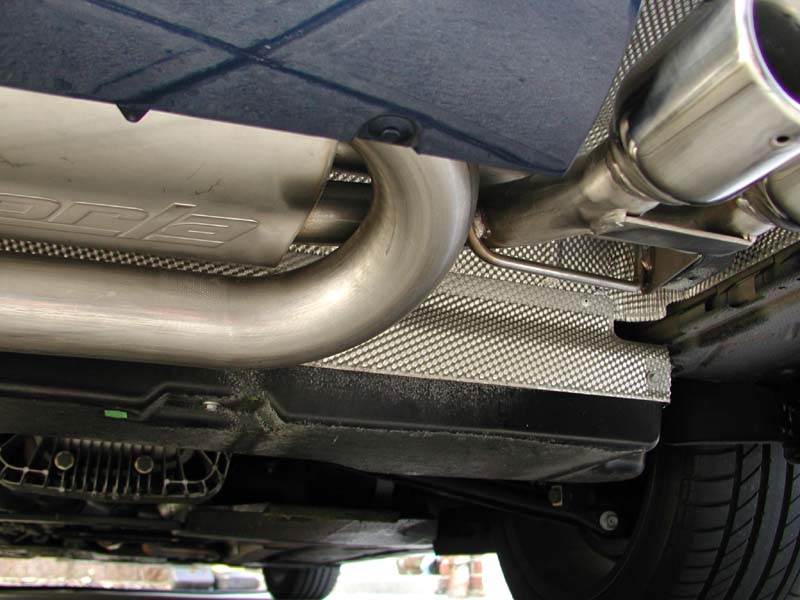
Installation
Install Time: (60-120min.)Click On An Image To See It In Full Size
Recommended Pre-install steps:
a) Jack up rear of vehicle and properly support the car using safety stands.
b) Remove rear lower valance for more clearance.
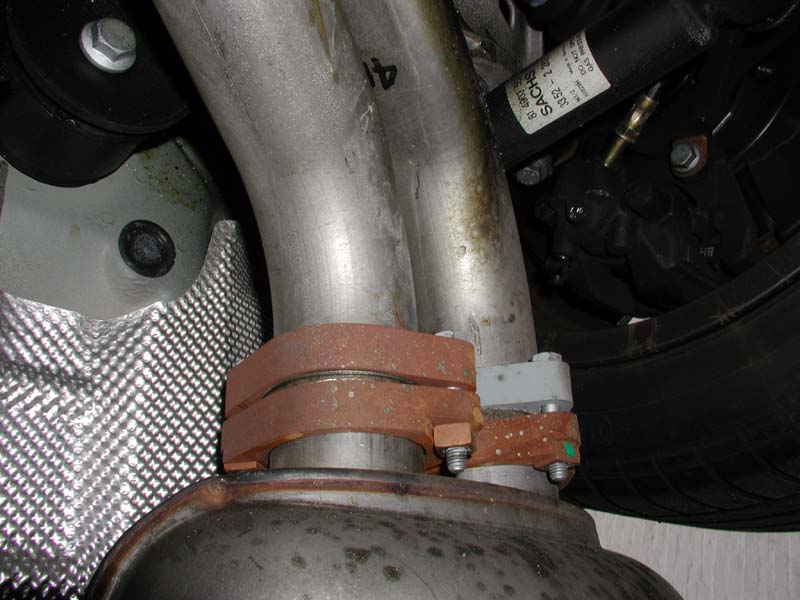
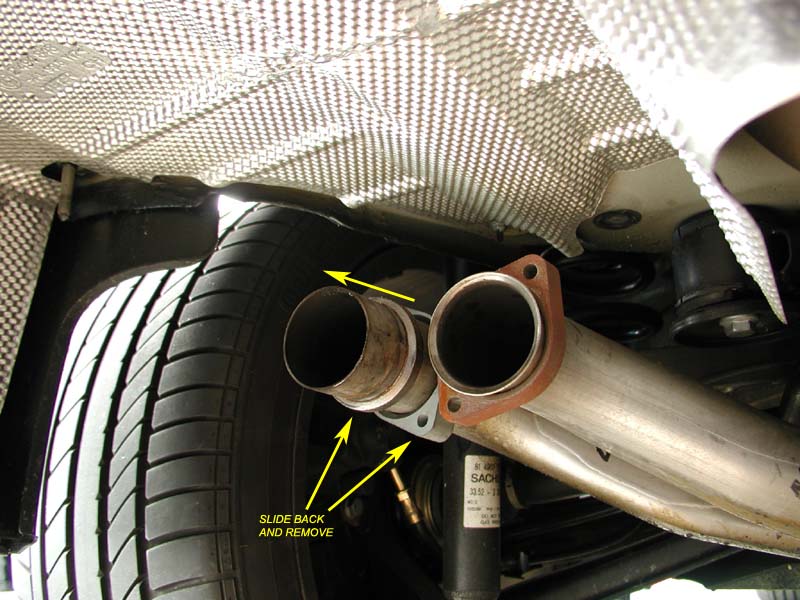
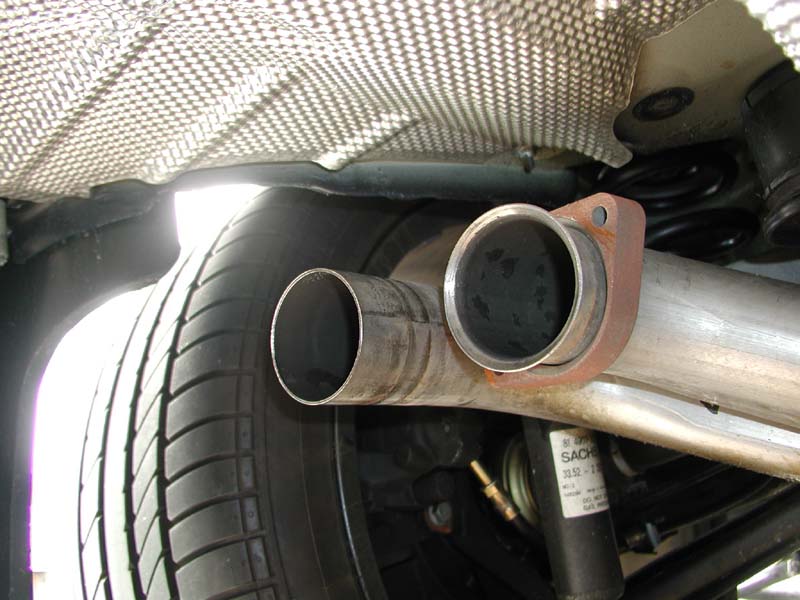
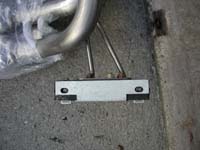
1. Unbolt factory exhaust flanges.
Using a 13mm socket, unbolt the two flanges that connects the factory cat-back pipes to the factory exhaust. There are two flanges with two 13mm bolts each
that will have to be removed (As pictured below). A donut gasket might drop out of the inner most pipe (left pipe on the picture below). Save that for later reuse.

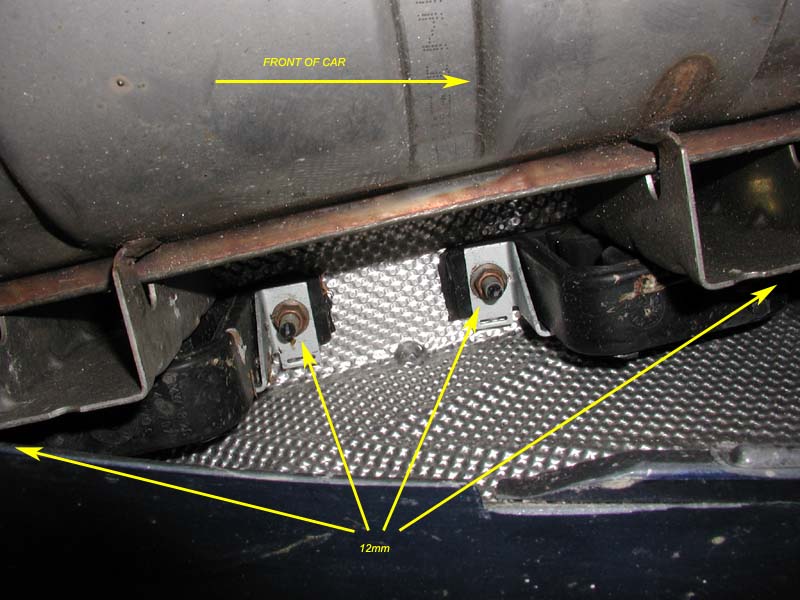
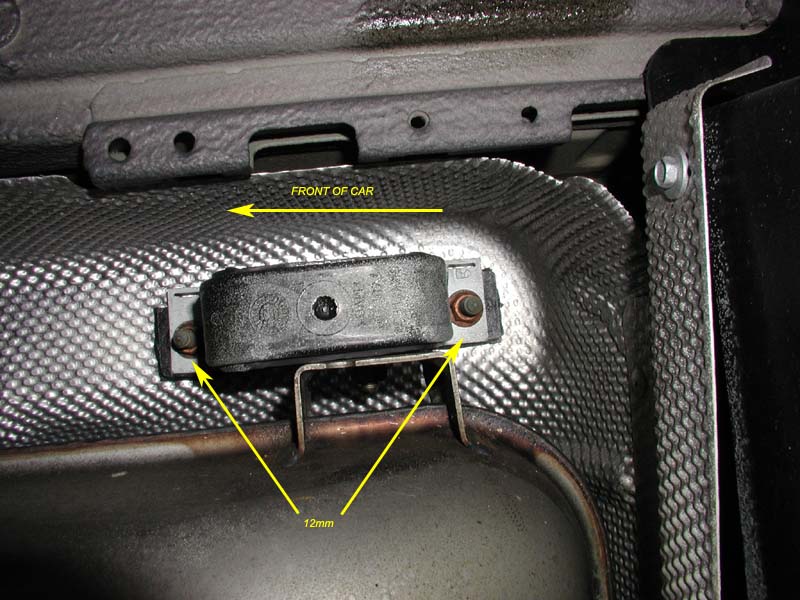
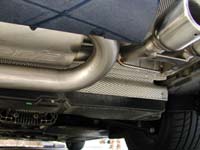
2. Remove exhaust hangers.
a) Start at the drivers side and remove the four 12mm nuts holding the exhaust hanger in place using a 12mm deep socket. The rear most nut will not
be too much trouble if you removed the rear lower valance earlier. Just access it from the rear of the car. Don't forget to properly support the exhaust with either
a floor jack or a helping hand from a friend.

Now move on to the passenger side and remove the two 12mm nuts using the same 12mm deep socket. This side should be much easier since there is only
one hanger.

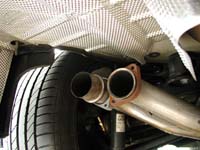
3. Remove factory exhaust.
Now comes the tricky part. You will have to drop the exhaust down until the hangers are completely out of the studs on the car. I found it easier to tilt the back
of the exhaust down (where the tips are) then yank on it while pushing back on the cat-back pipes. This is where a helping hand would be recommended. Be careful not
to drop the exhaust on the tips or you might damage the factory tips. If you are going to chuck the factory exhaust then you have nothing to worry about.
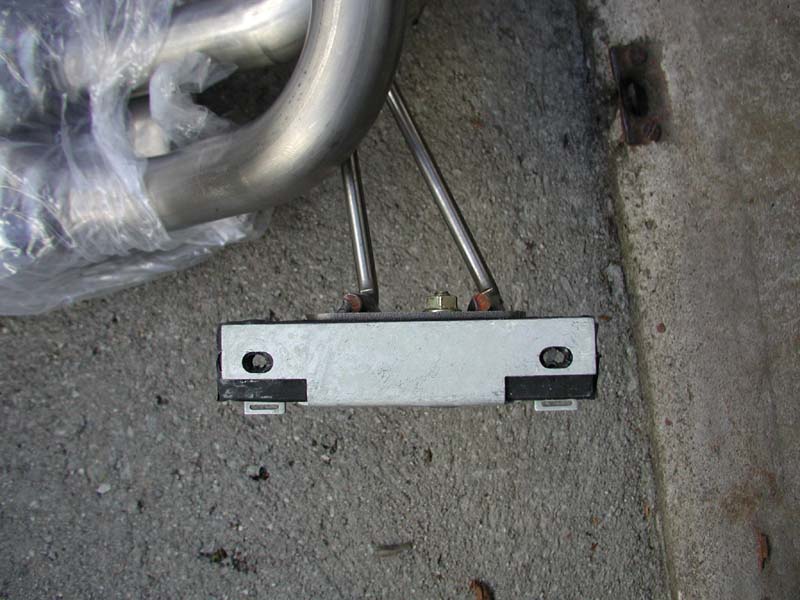
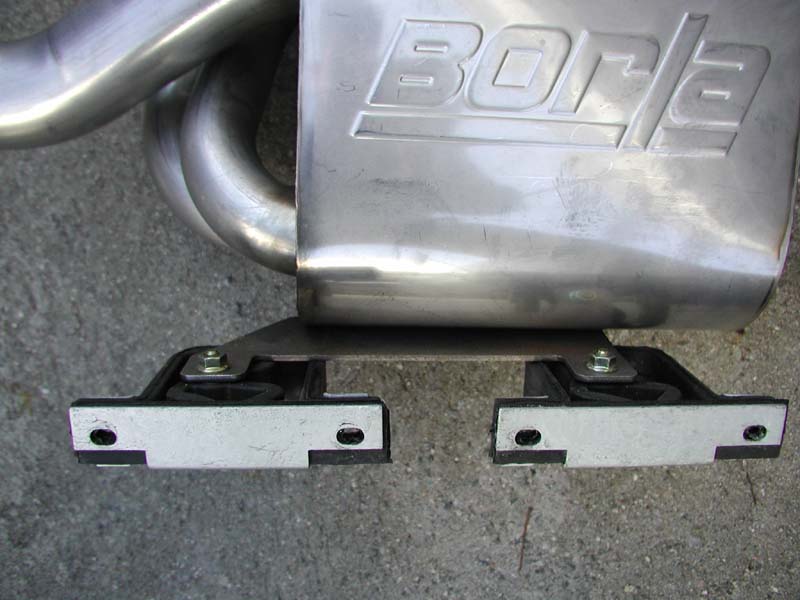
4. Swap exhaust hanger.
Using a 13mm socket and a 13mm box wrench, undo the bolts holding the exhaust hangers to the factory exhaust. Once all removed, reinstall the hangers
on your new Borla exhaust.

5. Remove gasket from left exhaust pipe.
On the cat-back exhaust pipes, you will have to remove the pressure fit gasket and flange (silver flange) from the left pipe. You should be able to easily slide
the gasket and flange out. This will not be needed to install the Borla exhaust. Just bolt it back on the factory exhaust so you don't loose it. (In case you wish to
reinstall the factory exhaust in the future)

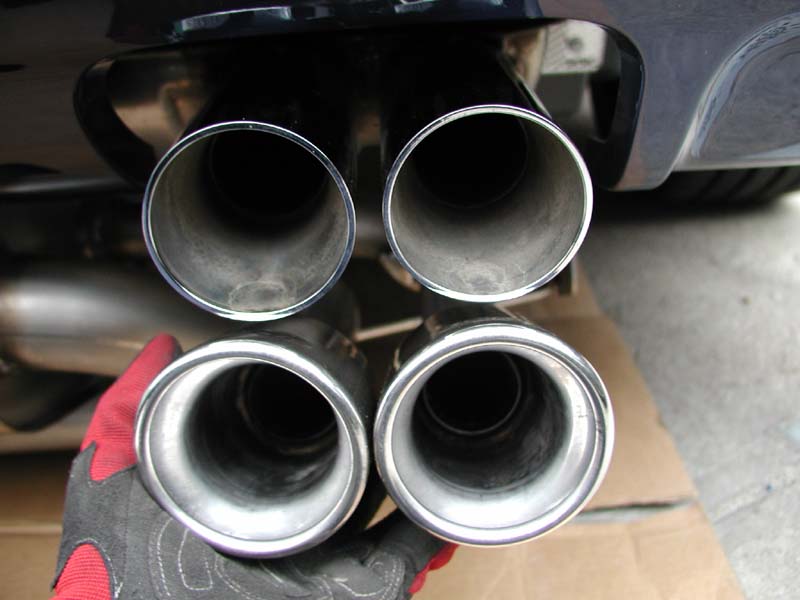
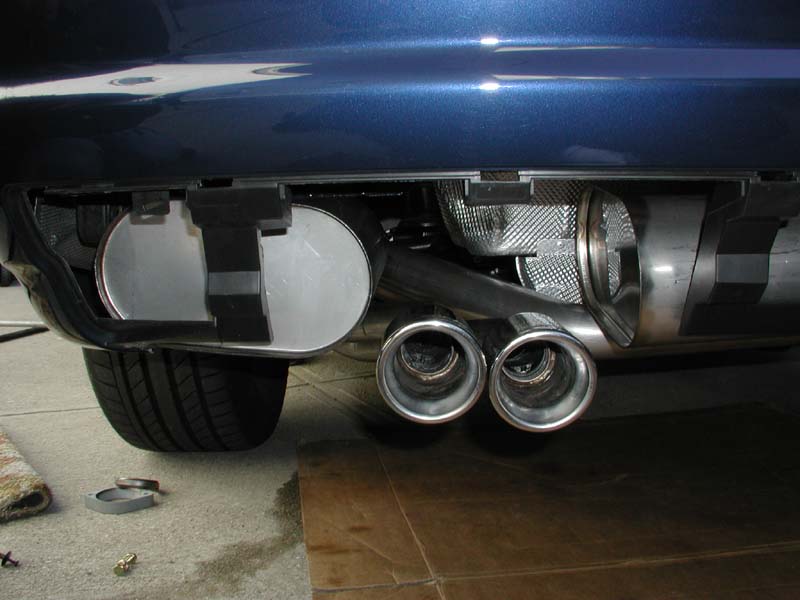
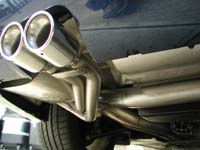
6. Install the right side Borla Exhaust.
A helping hand here would be great but not hard to do on your own. Simply push the exhaust hanger in place first and start the two 12mm nuts into the studs so
the exhaust down fall. Now align the Borla flange with the factory flange and insert the factory donut gasket you saved earlier. Loosely install the 5/16" bolts and
nuts you purchased from the hardware store. If you can, have another person tell you if the exhaust tips are lined up properly. If not, just move it around until it
is lined up. Bolt it down evenly alternating from top to bottom and vice versa while checking the exhaust tip alignment. Once tight and the tips do not move anymore.
I torqued mine to 20lb ft each.

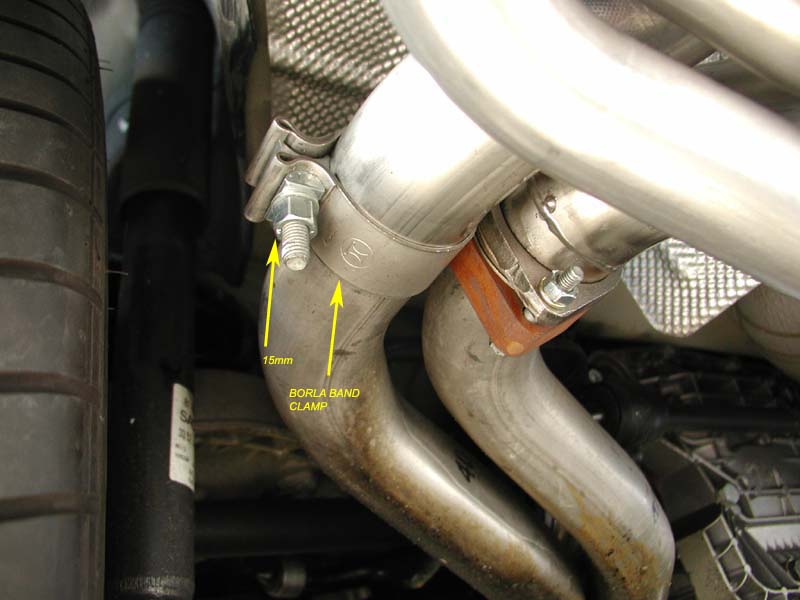
7. Install the left side Borla Exhaust.
This side is a real pain to install. So have patience. Slip the Borla band clamp onto the Borla pipe. Now position of the exhaust in place. Try to tilt the exhaust
up and onto the left cat-back pipe. The factory pipe should easily insert into the Borla exhaust. If you are lucky, you will get it in on your first try.
Once in, make sure the exhaust hangers are positioned over the studs. The first exhaust hanger can be bolted in with the factory 12mm nuts fairly easily from
the bottom. Do not tighten down all the way yet, just snug it down very lightly. The second exhaust hanger will require you to use a universal joint to tighten the
12mm nut, again, tighten loosely. The last bolt can be left out for now.

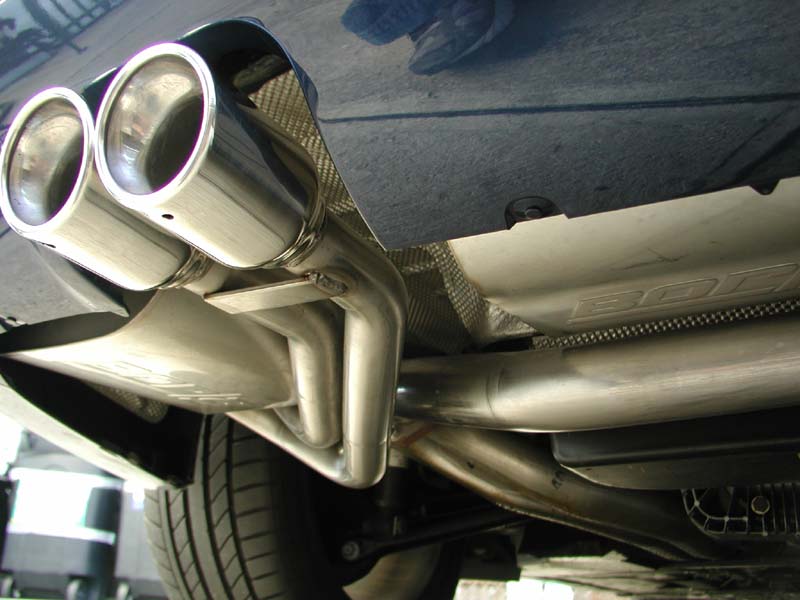
Assuming you remove the rear valance previously, place it back in place loosely so you can align the left Borla exhaust tips. Once aligned to your satisfaction,
tighten down the Borla band clamp using a 15mm deep sock and torque to 38lb ft.

Remove the rear valance again and tighten down the rear exhaust hanger nut. It will be nearly impossible to get to the rear exhaust hanger nut if you do not remove
the rear valance. Now tighten the rest of the hangers and reinstall your rear valance.

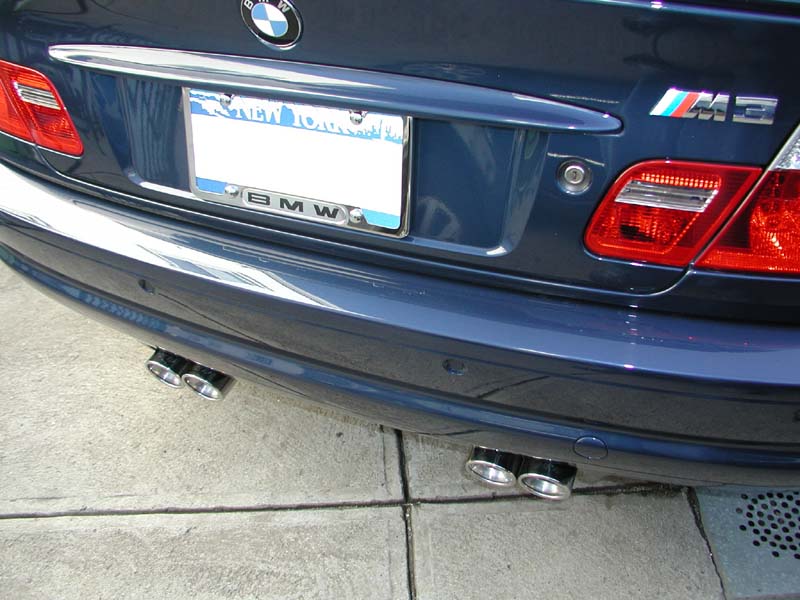
Start up your M3 and hear that sweet exhaust note. :)
CLICK HERE if you would like to hear what it sounds like when I started up my car for the first time. :)

|