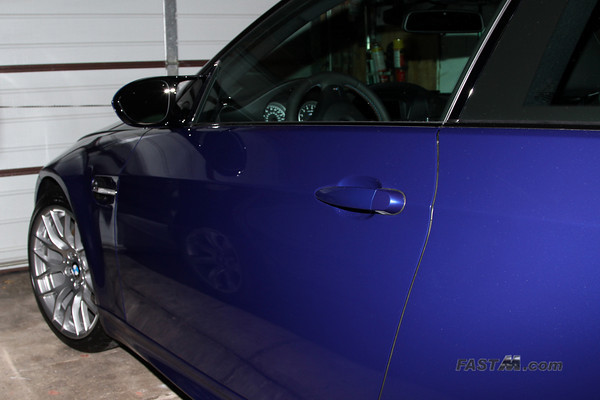
Vehicle: 2011.5 BMW E92 M3 Coupe
Install Date: January 3, 2011
|
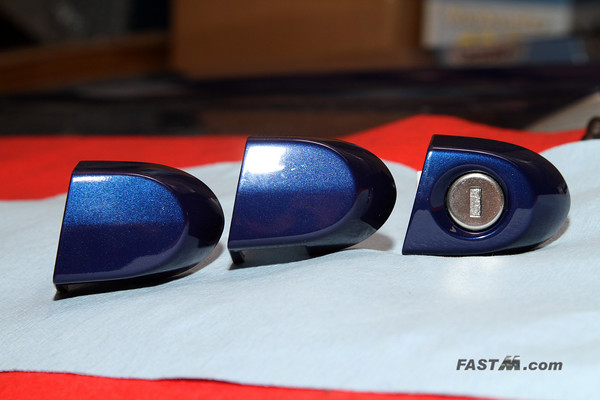
Painted Keyhole Cover Replacement DIY Replacing your keyhole cover on the door handle not only adds a little bit of security, it also adds a nicer look. Note that if your battery dies and doors are locked then you will have no access to into your vehicle. Parts Tools Required
Installation Install Time: (less than 10 minutes.) Before you begin:
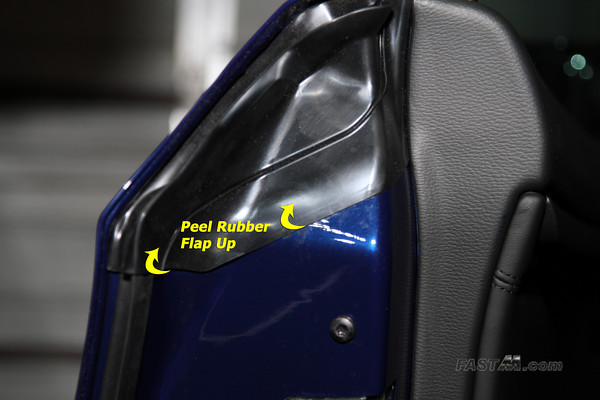
Installation Step 1. Peel back weather strip flap Once you open your door you'll see a rubber weather strip on the upper part of the door. Peel this piece back from the bottom up.
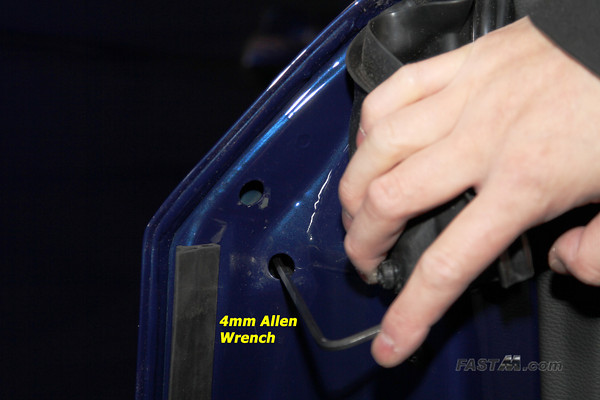
Step 2. Unbolt OEM keyhole cover While holding the rubber flap back, use a 4mm hex wrench to unbolt the OEM keyhole cover from the lower exposed hole. IMPORTANT: Be careful NOT to drop the hex bolt inside the door or you'll have a fun time trying to retrieve the bolt. Personally I did not remove the bolt during the process as to not risk dropping the bolt inside the door. A magnetic hex bit will reduce the chances of dropping the bolt into the door..
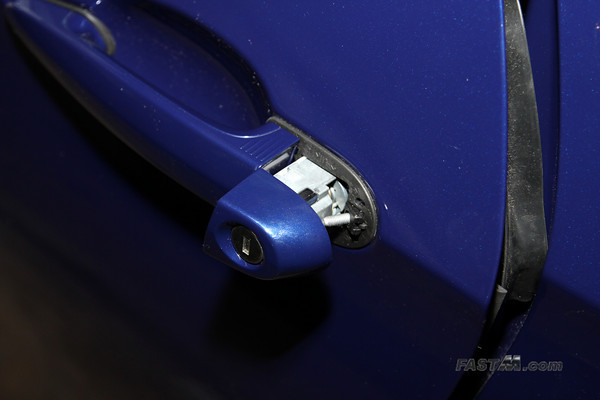
Step 3. Wiggle out the OEM keyhole cover and locking mechanism This is likely going to be the hardest part of the entire install (unless of course you dropped the bolt inside the door then you have other matters to worry about. LOL.) Grasp the OEM keyhole cover and as you pull, wiggle it up and down. It can be very tight but little by little it should wiggle free. Rubber gloves will help in getting a better grip.
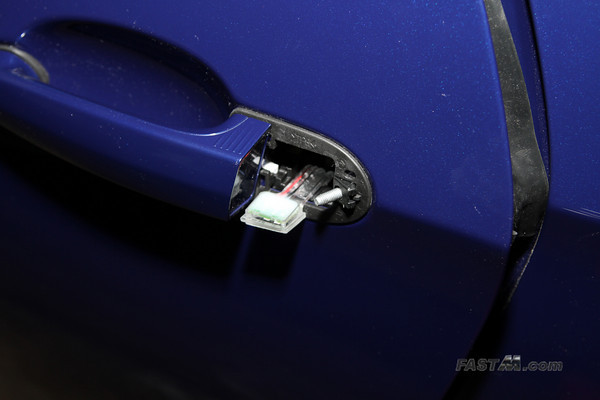
Step 4. Install new keyhole cover There's no need to transfer the locking mechanism to the new cover. Carefully align the new cover and bolt it in place. Once you have verified it's aligned and looks good, reinstall the rubber weather strip flap.
Step 5. Sit back and enjoy your new painted keyhole cover (without the keyhole!!)
|