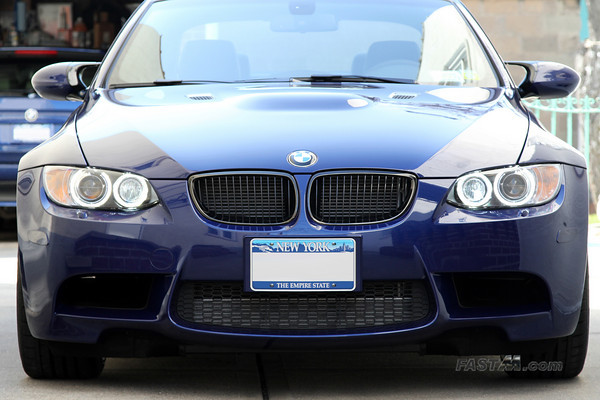
Vehicle: 2011.5 BMW E92 M3 Coupe
Install Date: March 12, 2011
|
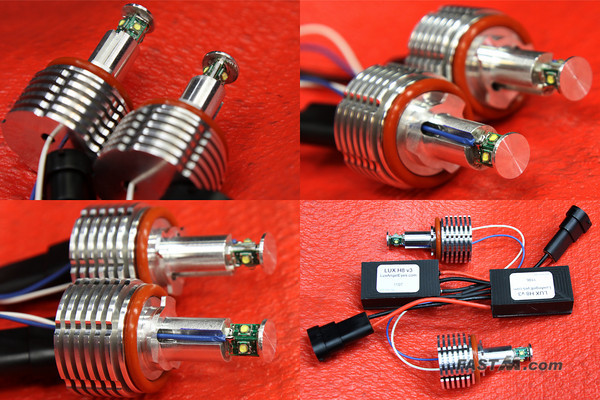
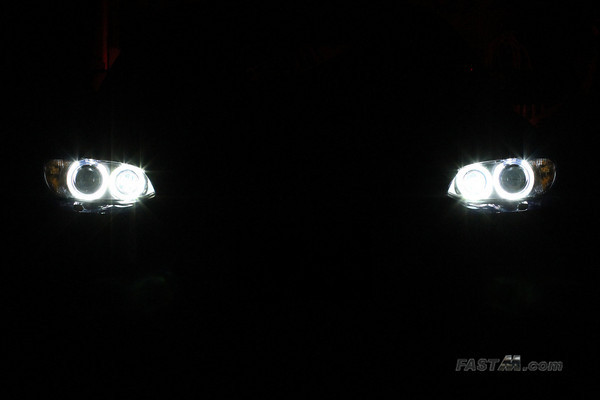
LUX H8 V3 Angel Eyes DIY The LUX H8 V3 Angel Eyes are LED replacements for the factory H8 halogen bulbs that illuminate the factory Angel Eyes. They give off a whiter (6500k color temp) light for a more modern look. Parts
Tools Required
Installation Install Time: (less than 10 minutes.) Before you begin:
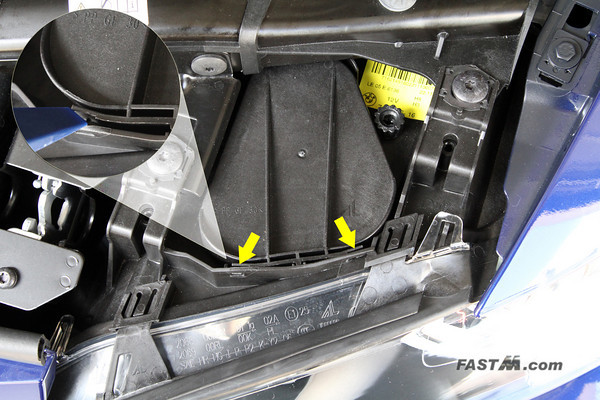
Installation NOTE: Steps below based on left (driver's side) headlight. The right (driver's side) headlight installs the same way. Step 1. Remove the access panel on top of the headlight Locate the access lid on top of the headlight (see image below). On the front of the lid you should see two clips (see image below) that is holding the front of the cover in place. Using your plastic panel removal tool (or screwdriver), careful push the clip on each side to unhook the cover. Once both clips are unhooked, you can lift the cover and tilt it off the headlight housing. IMPORTANT: You might mar the area where using a screwdriver. If you don't want to mar the plastic you can use a plastic panel removal tool (see image below) or be very careful with your screwdriver.
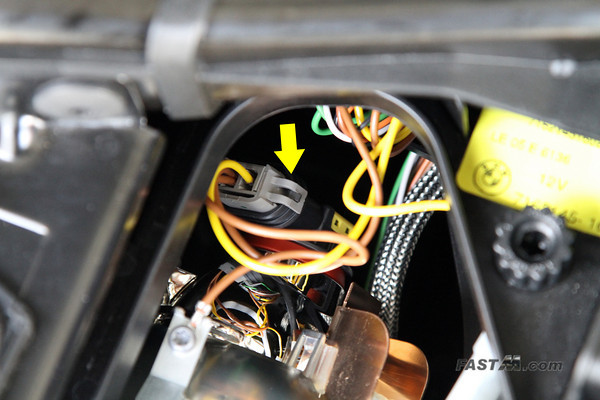
Step 2. Remove OEM halogen H8 bulb With the lid off, spend a few seconds inspecting the inside of the headlight as you'll see a bunch of wires. Around the middle (see image below) is the H8 bulb that illuminates the Angel Eyes. Rotate the H8 bulb counter-clockwise about 90 degrees and it should be free. Note: Pay attention to the position of the bulb once it's unlocked. Pull it straight back then tilt it out of the headlight housing.
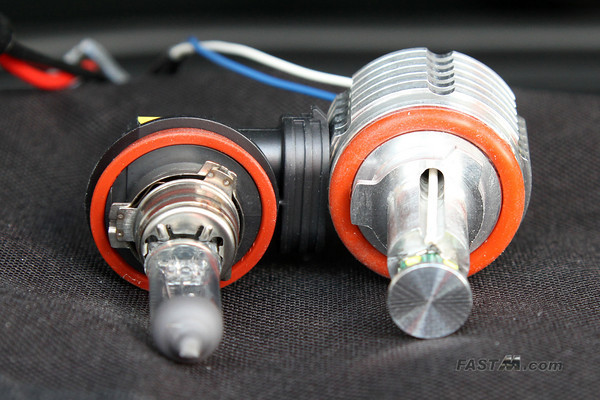
Step 3. Disconnect connector from H8 Bulb Removing the connector from the H8 bulb will require the use of your screwdriver again (or if you have strong finger nails). On either side of the gray connector you will see a little clip that hooks on to the bulb. You will need to pry those two clips to unhook it from the bulb. Step 4. Position LUX H8 V3 If you paid attention to the position of the OEM bulb when it was unlocked (from step 2), you should now position the 3 mounting tabs on the LUX H8 V3 in the same order as the original bulb when it was in the unlocked position. OPTIONAL: Once the bulbs where properly positioned, I marked the top of the LUX H8 V3 heatsink with a marker or with some tape identify it.
Step 5. Install new LUX H8 V3 Install the LUX H8 V3 first by tilting it into the headlight housing and into the Angel Eye socket. NOTE: I found it easier to grab the stalk of the LUX H8 V3 and tilt the heat sink in first then insert the LED portion into the socket. You have to line up the mounting tabs properly in order to completely insert the LUX H8 V3. Once you get it in twist the LUX H8 V3 clockwise approximately 90 degrees till it stops.
Step 6. Connect LUX H8 V3 to OEM connector Connecting the LUX H8 V3 should be a "snap". Once connected, tuck all the wires inside the headlight housing. NOTE: Leave the headlight housing lid open and install the other side. Step 7. Test the new LUX H8 V3 Once both are installed, turn on your Angel Eyes and check that they are functioning.
Step 8. Replace lid on headlight housing If everything checks out and works, do a last visual inspection to make sure all the wires are neatly tucked inside the headlight housing. You can now reinstall the lids on each headlight housing, close your hood, and go enjoy a job well done! Step 9. Go drive your M3!
|